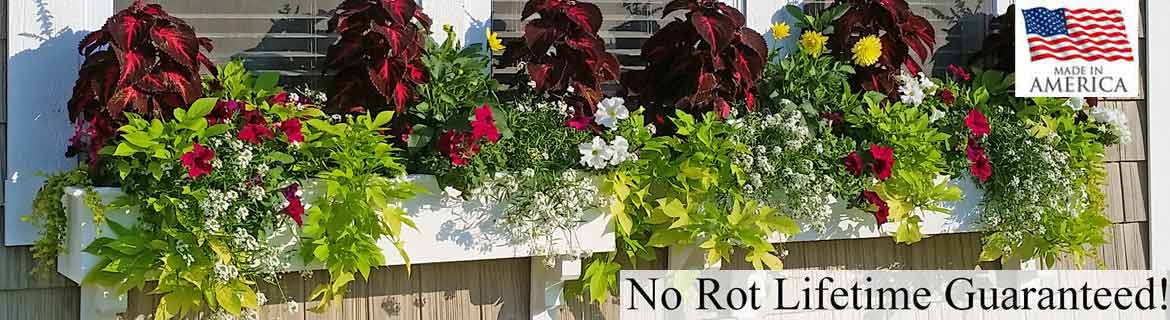
DIY Exterior Shutters
When it comes to improving your home’s curb appeal, exterior shutters are a simple yet effective solution. They add character and charm to your living space while protecting it from harsh weather. Still, store-bought shutters lack the customization, quality, and personal touch that a homeowner desires. They are usually made from cheap vinyl and for many homeowners that is not what they want to put on their homes. Wood shutters are often available at big box stores, but may be limited in size offerings or only available in cheaper woods like pine. That’s where
making your own exterior shutters and doing it yourself comes in, offering a cost-effective and rewarding way to create beautiful and functional elements that fit your home’s style and dimensions. Here, we’ll explore the benefits of DIY exterior shutters and provide you with a comprehensive guide on building, customizing, and maintaining your own shutters. So, whether you’re a handyman or an amateur, get ready to discover the exciting world of exterior shutters and take your home’s exterior to the next level.
How to Build Exterior Shutters
Building your own
exterior shutters gives you a sense of accomplishment and pride in your work. You get to see the tangible results of your efforts while adding a personal touch to your home’s exterior that store-bought shutters can’t provide. Similarly, the project is relatively easy, especially if you have experience with carpentry and can access basic tools like a saw and sander.
How to Choose the Right Style of Exterior Shutters for Your Home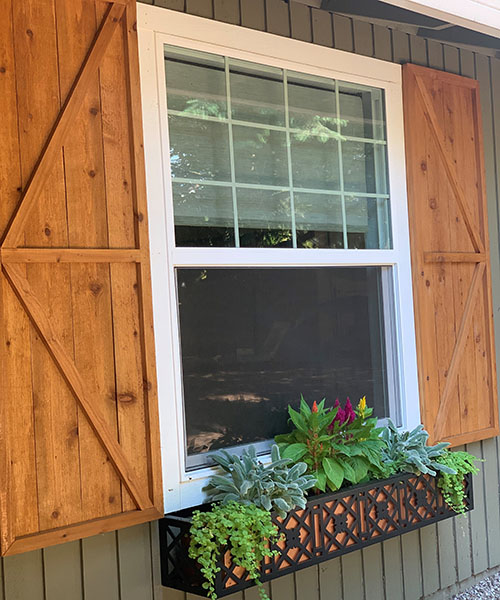
To reap the benefits of exterior shutters, you must choose the right style that complements your home’s architectural style and personal preferences and meets your functional needs. By doing so, you can improve both the aesthetic and functional aspects of your home’s exterior. The following steps will help you pick the right exterior shutters for your home:
Step 1: Consider Your Home’s Architecture
You want to choose a style that complements your home’s design. For example, if you have a traditional colonial-style home, you may want to choose shutters with a classic design, like raised panel shutters or louvered exterior shutters. On the other hand, if you have a modern cottage or farmhouse home, you need sleek, minimalistic shutters that complement the clean lines of modern architecture like board and batten shutters. Board and batten shutters are much easier to build and hold up over time, so we will focus on that style for this article.
Step 2: Determine the Size of Your Windows
Exterior shutters must be sized proportionally to your windows for a uniform look. Oversized or undersized shutters look awkward and out of place. Measure the width and height of your windows. For less custom shutters simply get shutters that are the height of the window and are all 15" wide. For more custom exterior shutters you still use the height of the window opening for the height of the shutters, but instead for the width, you will want to make shutters that are half the width of the window. The idea here is that the shutters will open and close in theory and cover the window up when they are closed. Since making shutters wider than 24" may not be practical or may sag over time and be harder to construct, we recommend not taking this rule to a Tee. Instead, cap the width of your shutter to 24". For more information on how to measure windows for exterior shutters make sure to visit our how to install exterior shutters page.
Step 3: Think About the Functionality
Exterior shutters can be decorative or functional. If you need functional shutters, operable shutters that you can open and close then you will need to purchase New York style shutter hinges. Alternatively, if you only need decorative shutters, fixed shutters that are purely ornamental then a shutter plug and screw kit will suffice.
Step 4: Choose the Right Material for Your Shutters
The material you pick for your shutters will impact the style of shutters needed. Wood exterior shutters are popular options, as you can paint or stain them to match your home’s exterior. However, they require more maintenance than other materials, such as PVC exterior shutters or aluminum. On the other hand, vinyl shutters are low-maintenance and come in different colors but will look like plastic and in direct sun make sink or warp in the center of the shutter. Composite wood shutters and PVC exterior shutters both look like wood and are durable like other synthetic materials, but will cost more, so are only recommended for a DIY project if you want to focus on just the installation portion of the project. If you are considering wood, then I recommend cedar. Cedar exterior shutters will last twice as long as pine in the long run and be more resistant to rotting and require less maintenance.
Step 5: Consider the Color
Your exterior shutters should complement your home’s exterior. If you have a neutral-colored home, choose exterior shutter colors in a bold accent color to add visual interest. Alternatively, choose shutters with a more subdued color if you have a brightly-colored home to balance the overall look.
Step 6: Consider Your Budget
Composite or PVC exterior shutters are typically more expensive than wood, vinyl, or aluminum shutters upfront, but they’re more durable than other materials, saving you money in the long run. On the other hand, aluminum and vinyl shutters are more pocket-friendly options for homeowners who want a more economical option or if they are not likely to remain in the home for more than 5 years.
Materials Required for Building Exterior Shutters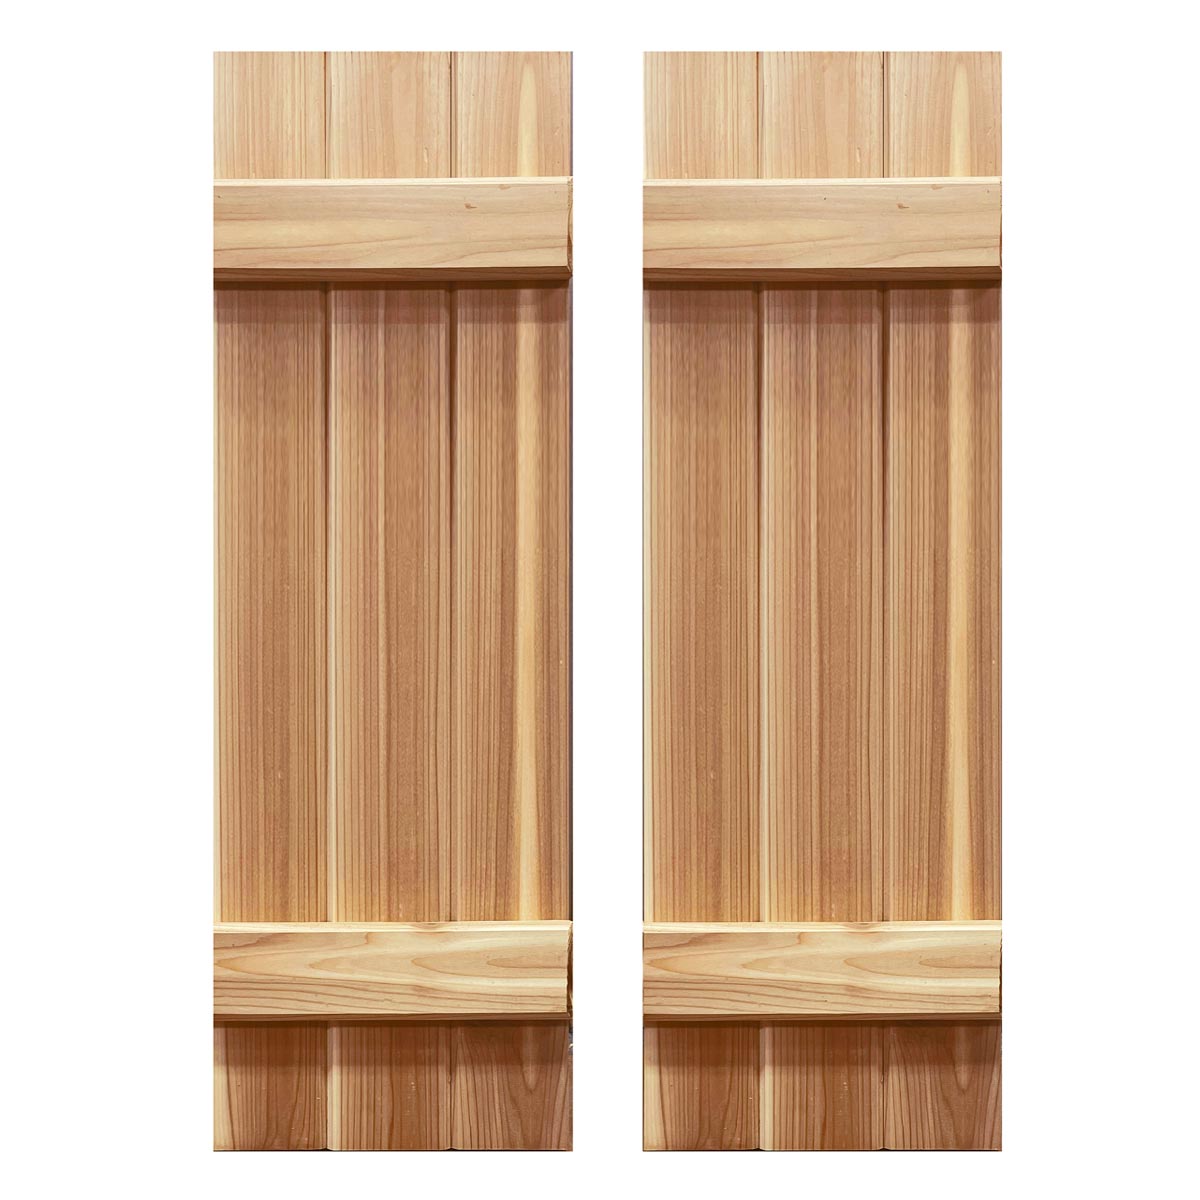
It’s important to get every material you need when
building exterior shutters because missing tools can significantly impact the quality and durability of the final product. Similarly, ensure that every component is the right size, shape, and material to give your shutters enough support, stability, and protection from the elements. Here are the materials you may need for your DIY exterior shutter project:
Wood: You’ll need 1x6 wood to build your shutters and cut the horizontal battens. Cedar and pine are the best options for exterior shutters due to their durability and weather resistance. For every shutter pair, measure the height of the shutter in inches and multiply by 7. Then add 10% to this number and this will tell you how many inches worth of 1x6 board you should buy. 12' board lengths are ideal and will help you to get better yields and efficiency from your cuts.
Measuring tape: Accurate measurements are important to ensure your shutters fit properly and function as required.
Screws: You’ll need screws to attach the horizontal battens to the shutters. Ensure they’re weather-resistant and long enough to penetrate both the board and battens. 1.5" Screws are recommended.
New York Style Hinges: These will help attach the shutters to your home. Ensure they’re strong enough to support the weight of the shutters.
Paint or stain: Choose a paint or stain designed for exterior use to protect your shutters from harsh weather. Cedar shutters perform better with an exterior oil based paint.
Pencil: You’ll need to mark the wood for precise cuts and attachments.
Chop Saw: You’ll need to cut the wood to the right sizes and shapes.
Sandpaper: Use a sander to smooth out rough edges and surfaces before painting or staining your shutters.
Wood glue: Use wood glue to reinforce the joints and connections between the boards and battens for extra support.
Safety goggles and gloves: When handling power tools and saws, you must protect your eyes and hands.
DIY Step-By-Step Instructions for Building Exterior Shutters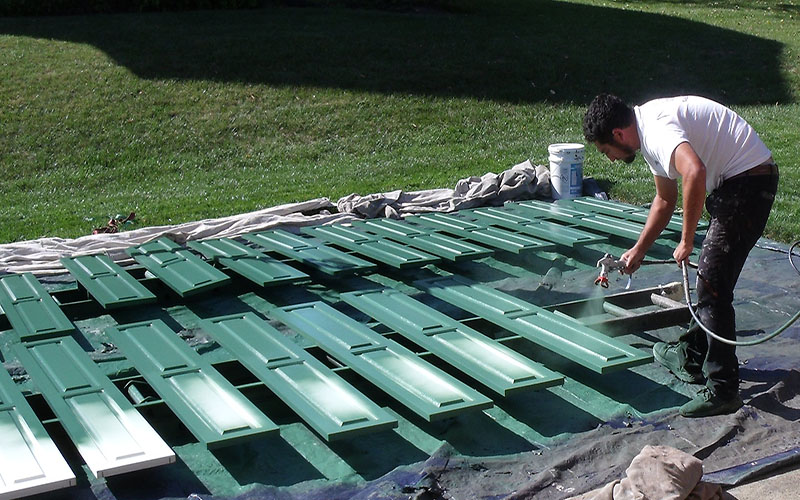
Follow every step carefully when building exterior shutters because it ensures they are structurally sound and function properly. Skipping or altering steps can compromise the integrity of your shutters, leading to problems like warping, uneven hanging, or even falling off the house. Here are the step-by-step instructions for building wood board and batten exterior shutters:
1. Measure the window opening to determine the size of the shutters and note them down.
2. Using a chop saw, cut three 1x6 boards to the height of the window and use sandpaper to smooth rough surfaces.
3. Since a 1x6 measures 5.5" wide the total width of your shutters will be 16.5" wide when you butt the three boards together. Cut two battens per shutter measuring 16.5" long.
4. Assemble the shutters by butting the three vertical boards together and two horizontal pieces with wood glue and screws.
5. Attach the battens to the vertical boards using screws and wood glue, ensuring they’re evenly spaced and straight.
6. Attach the hinges to the back of the shutters, and your house, by drilling pilot holes to stop the wood from splitting.
7. Sand the shutters again to ensure they’re smooth and ready for painting or staining.
8. Apply the paint or stain to the shutters and allow enough time to dry.
9. Install the shutters onto the windows and make necessary adjustments to ensure they fit and operate correctly.
DIY Exterior Shutters vs Store-Bought Shutters.jpg)
DIY exterior shutters offer a great opportunity to express their creativity, save money, and take pride in their own handiwork. With the right mindset and tools, it’s a relatively easy project that gives you the satisfaction that store-bought products can’t. Here’s a table showing the benefits of DIY exterior shutters over store-bought shutters.
|
Benefit
|
DIY Exterior Shutters
|
Store Bought Shutters
|
|
Customization
|
You have control over the design and style, allowing you to create shutters that perfectly match your home's aesthetic.
|
Limited options and designs are available, making it harder to find a perfect match for your home. However, it may be easier to source shutters if you need wider widths or quality shutters made from PVC or composite materials.
|
|
Cost-effective
|
You can save money by purchasing materials and constructing your own shutters instead of paying a premium for pre-made shutters.
|
Pre-made shutters are often more expensive due to the cost of materials and labor, making them less cost-effective.
|
|
Quality Control
|
You can ensure high-quality materials and construction by hand-selecting and assembling each component, making them more durable and longer-lasting.
|
Pre-made shutters are often mass-produced, with less attention to detail and quality control, making them less durable and prone to damage. Use a custom shutter company if you want more quality than big box stores offer.
|
|
Time Commitment
|
DIY exterior shutters require time and effort to construct, which can be a fun project for those who enjoy hands-on work.
|
Store-bought shutters require less time and effort to purchase and install, making them a more convenient option for those with busy schedules.
|
Maintenance and Care for Exterior Shutters
Well maintained exterior shutters look amazing, which boosts your home’s curb appeal. It’s important to take time cleaning your shutters to extend their lifespans and help you save on repairs or replacement costs.
How to Keep Your Exterior Shutters Looking New
These tips will help keep your exterior shutters looking new and functional.
Regular Cleaning
Use a soft-bristled brush or cloth to wipe down your exterior shutters to remove dirt and debris. If your shutters are too dirty, you can use soap and water to wash them, but ensure you rinse them thoroughly to avoid leaving soap residues.
Inspect for Damage
Check for cracks, chips, and other kinds of wear and tear. If you notice any damage, you should repair exterior shutters quickly to prevent them from worsening. For example, you can use wood filler to fill any cracks or holes in your shutters. However, you might have to repair the entire shutter for larger amounts of damage.
Check for Proper Fit
Ensure your shutters are installed properly and fit correctly. Too loose or tight shutters are prone to more damage, requiring repairs or replacements. It would help if you made the proper adjustments to the hinges or frames for better shutter support.
Touch Up the Hinges
Hinges are prone to rust and corrosion, which causes them to become stiff or freeze up. Stainless steel shutter hinges cost more up front buy require less maintenance and possible need for replacement than steel New York shutter hinges. Once the hinges stop working correctly, they eventually fail, forcing you to replace the entire feature. Touching up the hinges with a brush and spray paint is a good idea. Simply spray a small 1" wide brush with black spray paint and then paint onto the hinge to touch up the paint. This can be done every few years if you have steel hinges to prolong their lifespan.
Refinishing
Over time, your shutters’ appearance fades due to wear and tear. To keep them looking new, you can sand them down and apply a fresh coat of paint or stain. Still, ensure you choose a good-quality paint or stain designed for exterior use that is weather-resistant. You can also simply pressure wash them and then apply a fresh coat of stain if the pressure washing takes out all the dark aging characteristics that often accompany ageing stained shutters.
Tips for Repairing Damaged Exterior Shutters
Exterior shutters can take a beating from harsh weather and get damaged or warped over time. Rather than replacing them, you can repair the damaged parts, saving you money in the long run. For this reason investing in a quality material like PVC or composite upfront can save you time and hassle in the long run. The following steps should help you bring your damaged shutter back to life.
Inspect the Damage: Look for cracks, dents, or other types of damages that need repair and determine their extent.
Remove the Shutters: If the damage is big, remove the shutters from the hinges for easier fixing. Be sure to label each shutter, so you know which one goes where.
Fill the Cracks: Use wood filler to fill any cracks in the shutter and let it dry completely before sanding.
Straighten Warped Shutters: If your shutters are warped, straighten them using clamps. Place the shutter between two wood pieces and hold them in place using clamps as you heat the warped area. Once the shutter cools, it’ll regain its original shape.
Sand and Paint: Sand the shutters until smooth to ensure the paint sticks properly. Then, paint the shutters with paint or stain designed for exterior use, which is weather-resistant.
Re-install the Shutters: Once they have dried, re-install the hinges, ensuring they’re properly aligned and level. Test the shutters to ensure they function as desired.
Elevate Your Home’s Exterior with DIY Exterior Shutters
Exterior shutters add a layer of personality and style to your curb appeal. Building your own exterior shutters with the right tools and techniques becomes a satisfying and cost-effective DIY project. Whether you’re looking to build, install, or maintain your exterior shutters, there are many tips and ideas to help you achieve the perfect look. So why wait? Start your shutter project today and give your home the curb appeal it deserves.
Frequently Asked Questions
Can I use reclaimed or recycled materials to make DIY exterior shutters?
Yes, using reclaimed or recycled materials for DIY exterior shutters is an excellent way of creating a unique look and reducing waste. Some standard options include salvaged wood or old shutters.
How much do DIY exterior shutters cost compared to buying them pre-made?
The cost of DIY exterior shutters varies depending on the materials used, the size and quantity of shutters needed, and the tools required for the project. Making your own shutters can be more cost-effective than buying them pre-made. You can also buy quality shutters and install them yourself if you want to meet in the middle.
What are the common errors to avoid when making and installing exterior shutters?
Some common mistakes to avoid when making exterior shutters include inaccurate measurements, using unsuitable materials for your climate, improper filling or finishing, and incorrect installation.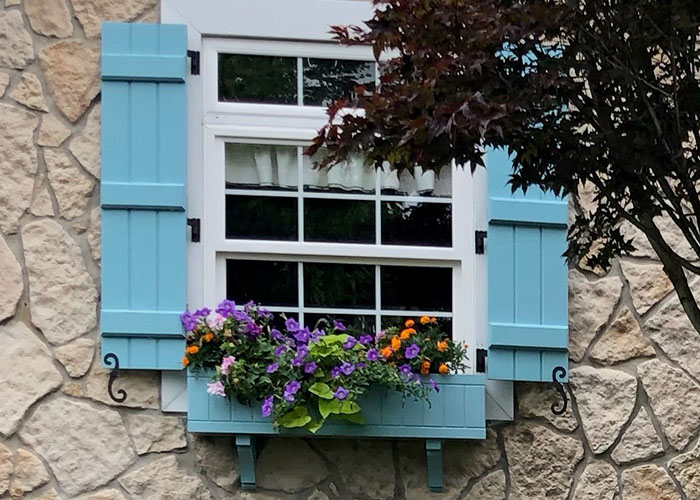
Are there any building codes or regulations that apply to exterior shutters?
Yes, building codes or regulations may apply to exterior shutters, depending on your location and the type of shutter you’re installing. For example, some areas require hurricane-rated shutters in high-wind areas. Check with your local building department to ensure compliance with relevant codes or regulations. You will also want to check with your HOA (Home Owners Association) to make sure they don't require specific materials or regulations for your shutters before you begin your project.
Are there any design considerations for DIY exterior shutters based on the style of my home?
Yes, design considerations for DIY exterior shutters vary depending on the style of your home. You can install shutters that match the color of your trim or siding or choose a style that complements your home’s architecture.
Flower Window Boxes, Inc. specializes in window boxes and shutters. Our Forever Shutters line of PVC exterior shutters are designed to last a lifetime. Our customers are DIY enthusiast all over the country who purchase our shutters and install the shutters themselves, allowing them to get affordable, quality shutters added to their home. If you are also looking to add window boxes be sure to check us out.
 About the Author About the Author
Matthew Buquoi is the owner of Flower Window Boxes, Inc., which is one of the largest online window box companies in the United States. In addition to being the owner, he is also an expert author, and regularly writes about industry topics in the window boxes, planters, exterior shutters, and home and garden industry.
|
|
|